I never got around to posting any pictures of the boys in their Indian Bonnets I made them for Christmas. The feathers were saved when we dry plucked our Thanksgiving Turkey.
I made some horns from felt and sewed them to the side of the headband on this one.
Great nephew did not know he was getting one. He thought he had only been modeling for sizing for the one I made grandson. It was fun making these and giving them as handmade gifts.
I made a personalized notebook for my great niece using a 1inch notebook with a plastic overlay. I purchased these at Sam's Club. I think they were either a 4 pack or 6 pack...can't remember but they end up being less than $2.00 each.
I used a free program from Kodak to make the page and printed it on photo paper from my printer. She is crazy about horses and one of the pages happened to have a horse theme. I purchased a nice 5 pen package of roller writers from Office Depot for less than $4.00.
Inside the notebook I added a writing pad, some notebook paper and some page protectors.
Last year, after Christmas, the Dollar General near my home put all of their Christmas items on sale. I checked the store every few days to see how low the prices were marked for that day. I eventually purchased these items for 10 cents each. I have the little Christmas houses and baskets to put goodies in and also the bakery bags that come 6 to a pack. I probably bought about 30 of the houses and baskets, brought them home set them down in a clean plastic bag and boxed them up. This coming week I will be putting them to good use.
I have been baking up a storm. Fresh loaves of bread, coconut pound cakes (not shown) and coconut cookies. I am using a lot of coconut as that is also an item I got on sale at the Dollar General last year and put it in the freezer. The first few bags I got for 30 cents each. A few days later I had my daughter check the stores near her. They were an unbelievable 10 cents a bag. Each bag has 4 cups of flaked coconut! Boy did I score on that one.
A dozen cookies will fit perfectly in one of the little houses and the little Christmas baskets. The neighborhood kids, bus drivers, teachers, mail lady etc will get one of these treats. I'll also put a couple into the Tote Bags I am making up for family and friends.
This is a quick and easy gift to make. It takes about 15 minutes to zip one out and who doesn't save all those little plastic bags from the store?
We use them to line our small waste baskets in the bathrooms and office, put them in suitcases for our dirty laundry on trips. My niece uses them for poop holders when she walks her dog. You get the idea. Hang them from a doorknob or hang on the wall with a small nail or tack.
Supplies needed for 1 holder:
- Sewing Machine and thread
- scissors
- pencil
- ruler
- 1 dish towel (I get mine for $1.00 at Dollar General)
- approximately 16 inches of 1/4 inch elastic
- approximately 28 inches of 3/8 inch ribbon or size of your choice.
Lay your towel out flat and find where you would like the bottom and top trim to be. I measure from the edge of the towel to just where the print starts.
Turn your towel over and draw a line with a pencil across the towel using the measurement you just took. Repeat for the other end of towel.
Fold your towel in half longways and cut 2 pieces of elastic just about 1/4 to 1/2 inch longer than the folded towel. Don't stretch the elastic at this point.
Measure your elastic and mark the center by drawing a line. Mark both pieces of elastic.
Find the center of the line you drew on the towel and mark . Repeat for the other end of towel.
Place your elastic even with the line leaving a small amount hanging over the edge.
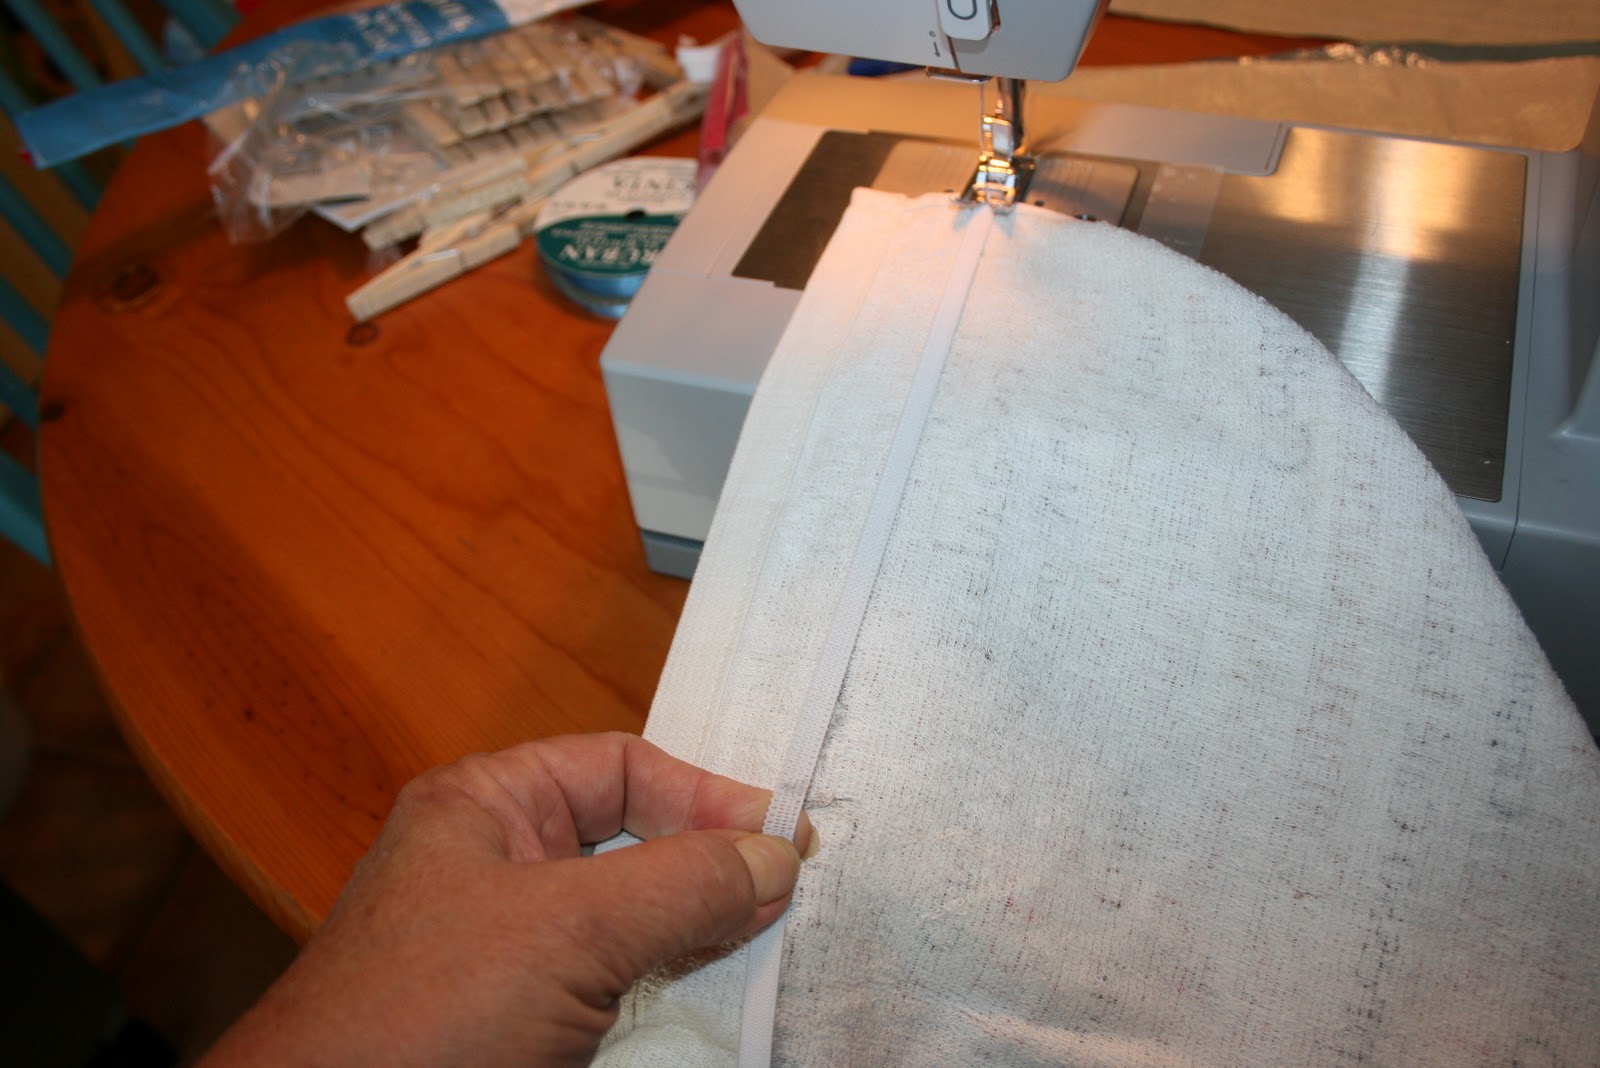
Place under pressure foot of sewing machine and using a zig-zag stitch make a few stitches forward and backwards to hold the elastic secure.
Now stretch your elastic until both center lines meet while keeping elastic edge with your pencil line. Sew all the way across and end with a back stitch to secure. Repeat on other edge of towel.
Fold towel with right sides together and match edges. Pin edges if desired. I have not found a need to do so.
Using a straight stitch sew long edges together with about a 3/8 to 5/8 inch seam. Use a back stitch on both top and bottom to secure your seam.
Turn your tube inside out. It should now look like this.
Cut a length of ribbon 8 inches long. Determine which end you want to be the top (with dish towels one half is going to be upside down) My preference is to put the right side towards the bottom.
Make the ribbon into a loop and place it on the inside on top of your seam and about 3/8's from the edge and sew it a couple of times back and forth to hold the ribbon.
Your loop should look like this on the inside of the towel.
Measure another piece of ribbon about 20 inches and mark the center.
On the front side of your towel just below the elastic and opposite the loop sew the ribbon. Make sure the backside of the towel and loop are out of the way.
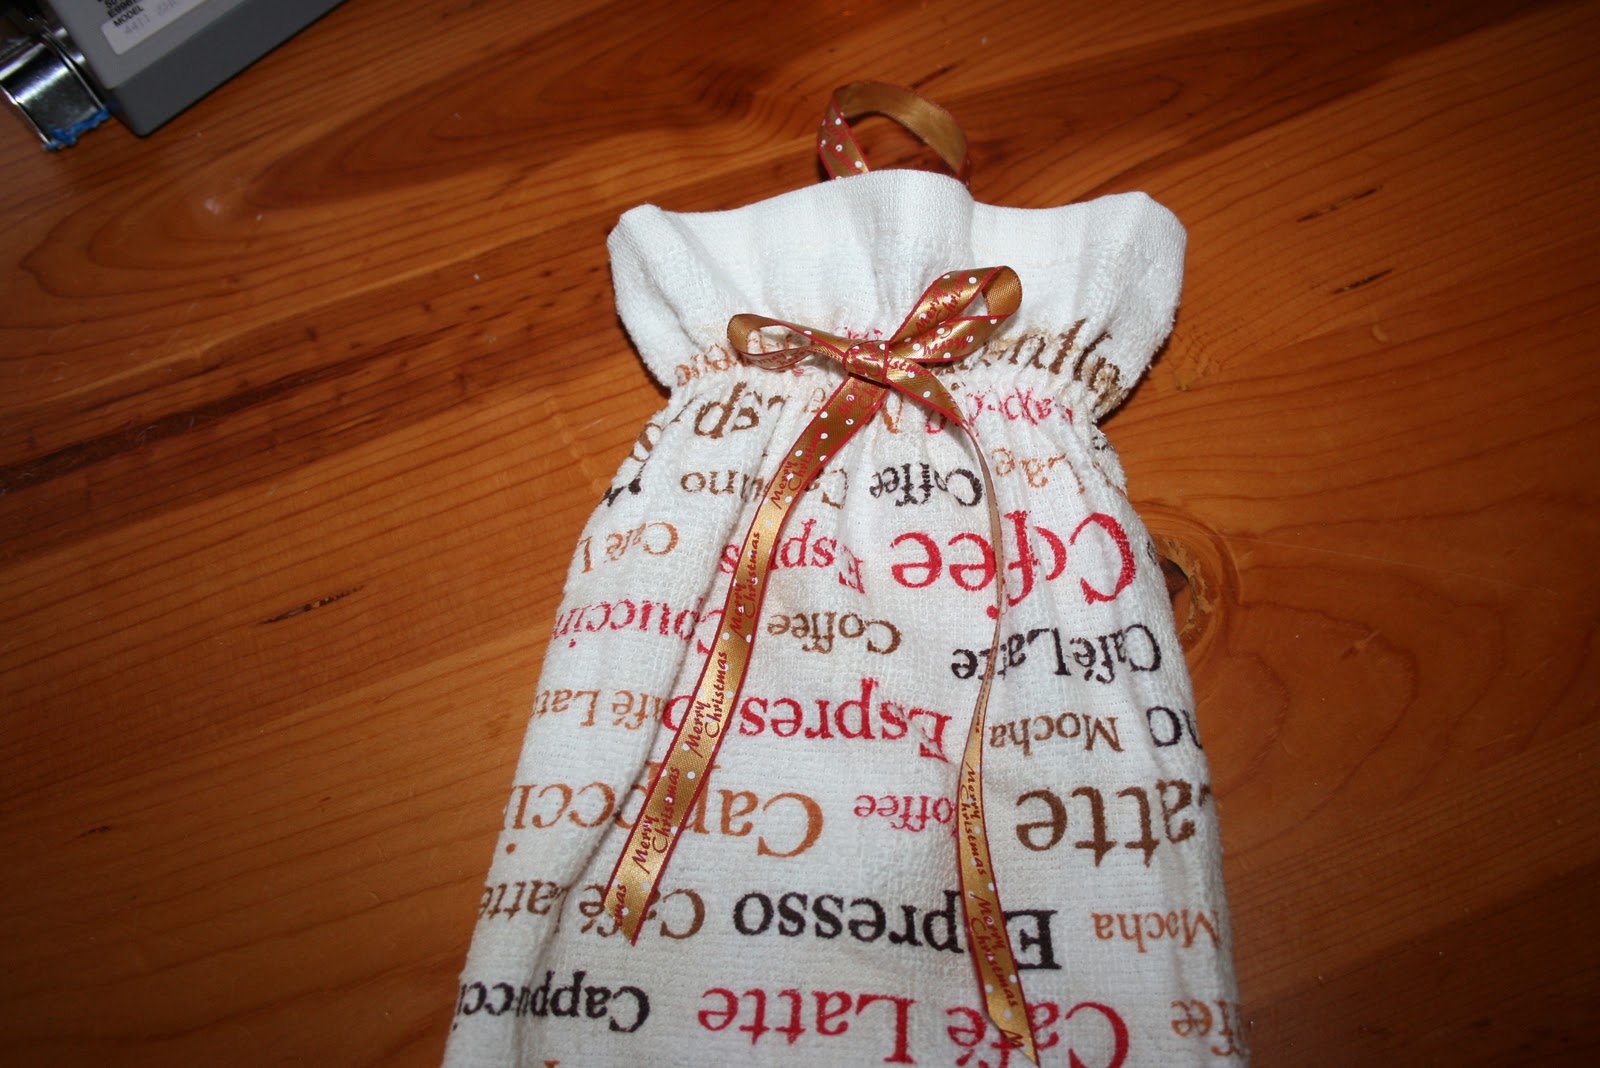
Tie the ribbon into a pretty bow and trim the ends if needed. You could make the bow and then sew it on with a needle and thread but this method is just as easy for me.
Before you give it as a gift you may want to stuff a few plastic bags into it. Some gift recipients may not know what that strange looking tube is for!
Another finished project!